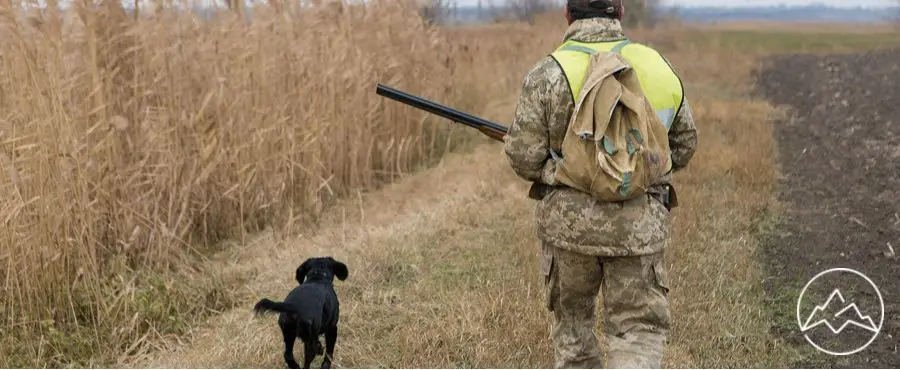
It goes without saying that if you’re hunting sans camouflage, you probably aren’t going to have much luck. The good news is a lot of hunting gear on the market today already comes dressed in camo, fit for all types of hunting environments. The bad news— it’s a bit more expensive.
However, there’s nothing like a DIY camo paint job to customize your gear and give you a better match for your most visited hunting grounds. Not to mention, it adds an extra layer of protection for your equipment, it’s much more cost-effective, and it’s something cool to show off to your hunting buddies. (All of our picks for the best hunting blinds are already well camouflaged, but you may need to make your other gear blend into the environment as well.)
If you want to learn how to paint camouflage patterns for all the reasons mentioned above, follow these steps:
Step 1: Gather your materials
First thing’s first—you’re going to need to gather the gear you want to paint, some natural foliage (we’ll get to that later), and the right paint for the job. The paint colors you’re using will depend on the environment in which you typically hunt. You’ll need four to five colors that match the color scheme of the specific area you hunt in.
To blend in with the forest, it’s best to choose various shades of greens and browns. For the desert, go with various shades of tan, dark brown, and pale red. Use different shades of grey for urban environments, and lastly, for snowy environments, use whites, light blues, and greys.
It’s crucial to choose a paint that’s meant for the type of surface you’re painting. Spray paint is the best option as it allows for a smooth finish (my favorite is Krylon.) You can use acrylic paint with a sponge application if necessary, although it’ll give you a rougher finish.Additionally, you’ll want to make sure that you choose paint with a matte finish. After all, you’re trying to blend in with nature, and a glossy finish will only create reflective surfaces.
Step 2: Choose a neutral base
Always start with a few coats of a neutral base color. Two coats should do the trick, with at least 45 minutes of drying time in between. If you’re prepping for the desert, use a light tan base, dull green for the forest, flat white for snowy environments, and light grey for urban settings. The idea behind your neutral base coat is to match the ground you’re hunting on. You want to blend in with the ground floor—the rocks, desert sand, snow, or grass. The neutral base is typically the lightest or dullest shade of the environment, and it sets you up for a three-dimensional camouflage that blends in seamlessly.Step 3: Use natural foliage
If you want to know how to paint camo patterns most realistically, here it is: use natural foliage. It’s the oldest DIY camo trick in the book.
You’ll want to use the natural foliage found in your hunting environment. Of course, snow and sand won’t work in this case, but you can supplement with smooth rocks, large leaves, and other objects such as your keys, rifle shells, knives, etc.
Using natural foliage and fun objects helps create the necessary balance between shadows and solid colors, breaking up prominent lines and adding to that three-dimensional realistic look. This is what’s going to help you blend in, unlike camouflage pattern stencils that create a color-block look, which won’t do you any favors.
Step 4: Layer your colors
Once you start applying the rest of your color swatch, it’s best to use one color at a time, in layers. It’s also essential to start with your lightest colors, alternating between the contrasting colors.
Using the forest scheme, for example, start with your dull/light green base coat. Lay down your foliage, and spray over it with one of your lighter brown shades. Lay down your next layer of foliage and paint over it with a darker green, repeating the process until you’ve sprayed your darkest color.
Pro tip: Paint over your green foliage with your brown shades and brown foliage with green. This will ensure that your foliage patterns are the correct colors.
Step 5: Add additional depth
If you want to add additional depth to your DIY camouflage paint job, you can use mesh netting and your neutral base color to finish the job.
To do this, remove all your foliage stencils and drape the mesh netting over your gear. Spray a coat of neutral color, and you’re done.
Step 6: Final coats
You’ll want to finish each stenciled layer off with a final coat to help your camo pattern blend in better. Using the designated color of each foliage layer, you’ll want to spray the final coats in quick, short strokes. This will give your camo a necessary shadowy finish.
Pro tip: You can also add a “drizzle effect” to each finish by only slightly depressing the nozzle of your spray paint can. This will push out paint droplets, which will break up the pattern, creating an even more realistic look.
DIY camo is better
The best thing about DIY camo painting is that you can customize your paint job using the natural foliage and colors in your area. You don’t have to worry about spending extra money on a pattern that doesn’t quite fit. Besides, it’s much more satisfying to know you did it yourself.


